 My Photo Copy
Yes, you can back up an iPhone's photos to a USB drive without a Mac or PC. Plug a USB-C flash drive or SSD into the phone (or a Lightning stick into an older iPhone), make sure it is formatted exFAT, and use an app that copies the original files and then checks each one on the drive. The rest of this guide covers each of those steps and the limits worth knowing before you start.
Short version: exFAT drive, originals not conversions, app open on screen with the phone on a charger, and a result that says “verified”, not just “copied”. Then keep a second copy somewhere else.
What you need
- iPhone 15 or later: any USB-C flash drive, or a portable SSD with a USB-C cable. It plugs straight in.
- iPhone 14 or earlier: a Lightning flash drive that shows up in the Files app, or Apple’s Lightning to USB 3 Camera Adapter with an ordinary USB drive. That adapter has its own Lightning port for power; use it for anything bigger than a stick.
- Enough space: Settings → General → iPhone Storage → Photos shows how big your library is. Buy a drive about 1.5 times that, so it still fits next year.
- Time and a charger for the first run. Later runs are much shorter.
If you haven’t bought a drive yet, which USB drive works with an iPhone compares sticks, SSDs, Lightning drives and SD card readers, with sizes for typical libraries.
Step 1: Plug in the drive and find it in Files
Open the Files app, tap Browse, and look under Locations. The drive should appear there by name within a few seconds. If it doesn’t, the problem is the drive, the cable, the adapter or power, and no backup app can work around it yet. Portable hard drives and some larger SSDs draw more power than the phone supplies; they may need their own power or a powered USB-C hub. If you see “This accessory is not supported” or nothing at all, this troubleshooting guide goes through the causes in order.
Check the format
| Format | Works with | What to know |
|---|---|---|
| exFAT | iPhone, Mac, Windows | The one to use. No practical file-size limit. |
| FAT32 / MS-DOS (FAT) | Almost everything | No single file over 4 GB, so long 4K or ProRes videos won’t copy. |
| APFS / Mac OS Extended | iPhone, Mac | Fine if the drive never needs to open on Windows. |
| NTFS | Windows | The iPhone can’t write to it. Reformat to exFAT. |
Formatting erases the drive. On iOS 18 and later you can do it from the Files app itself; how to format a USB drive for iPhone has the steps for iPhone, Mac and Windows.
Step 2: Choose what to copy
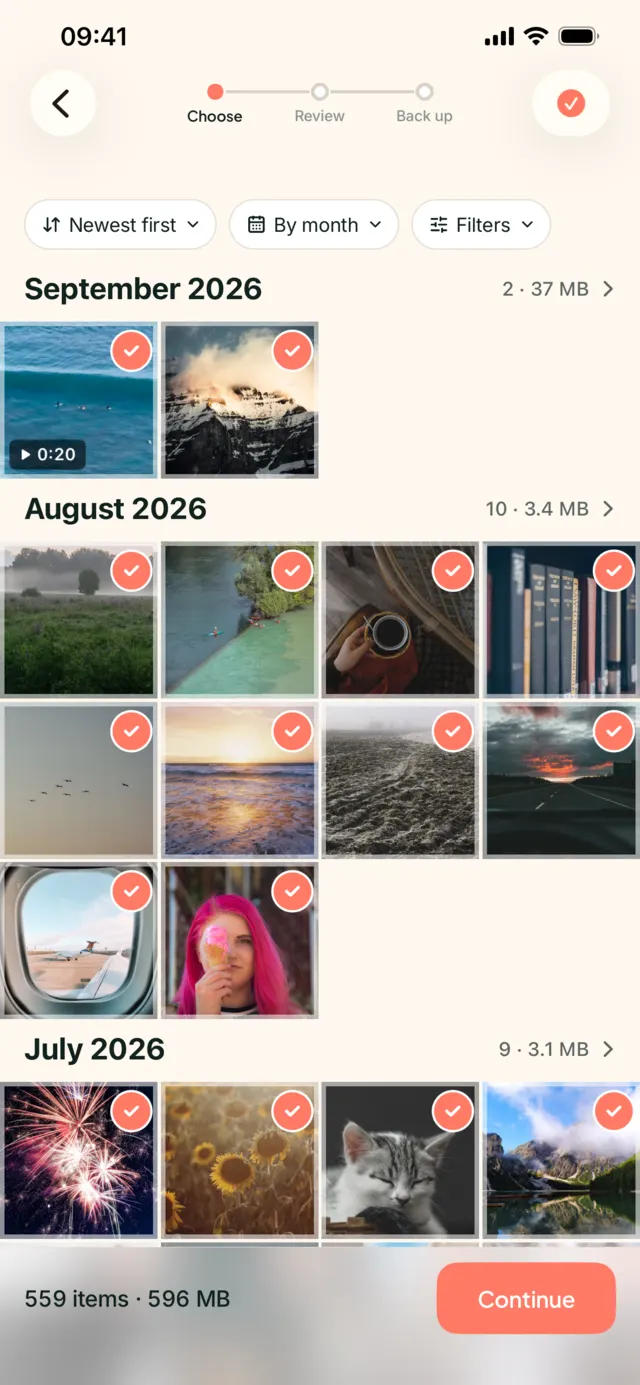
You can copy the whole library or part of it: a date range or month, some albums, or just the videos. For a first backup, everything is usually the right answer.
What matters is that you copy the originals. Selecting photos in the Photos app and using “Save to Files” works for a handful, but on a whole library it gets slow and unreliable, and depending on your settings you can end up with converted JPEGs, Live Photos reduced to a still, or videos that never arrive. There is no count at the end to tell you what went missing.
Step 3: Start the backup and keep the app on screen
A first backup of a large library takes a while, and three things decide how long.
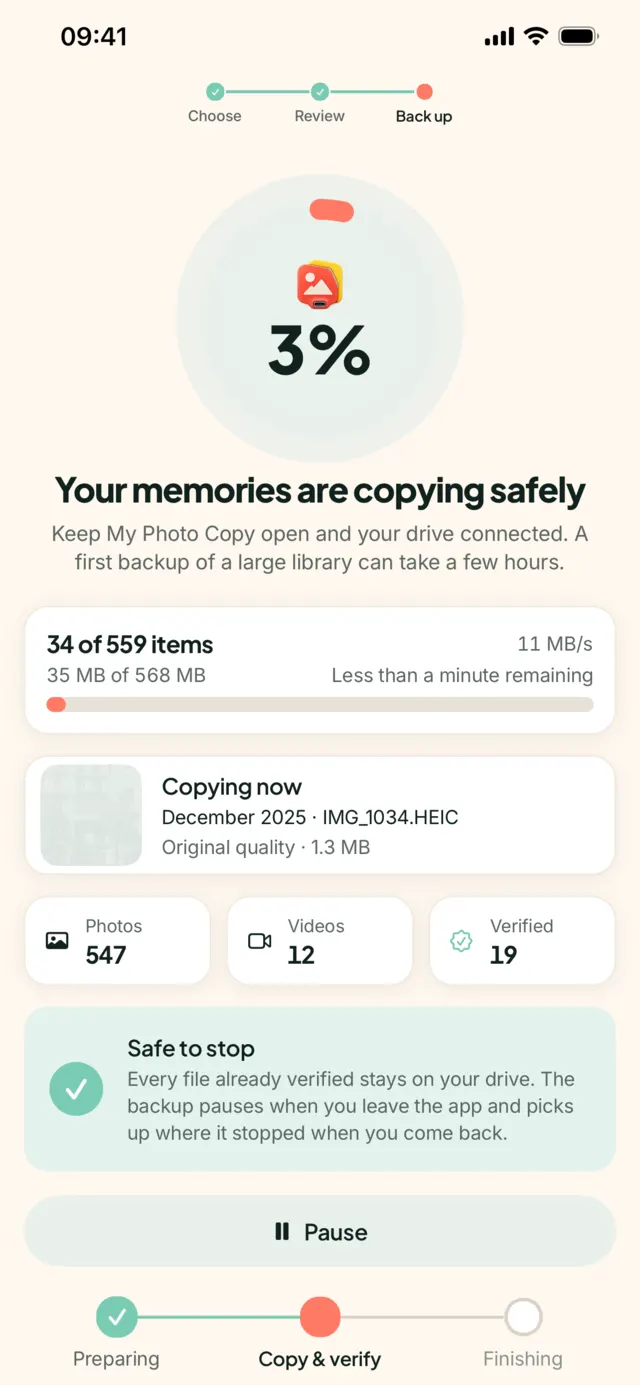
- iOS suspends apps in the background. If you switch away or the screen locks, the copy stops soon after. Keep the app open with the phone on a charger.
- Photos stored in iCloud have to come down first. If Optimise iPhone Storage is on, most of your originals live in iCloud and the phone holds smaller versions. My Photo Copy downloads each original before copying it, so start on Wi-Fi and expect this to be the slowest part.
- Connection speed. Lightning and the USB-C port on non-Pro iPhones run at USB 2 speed. A big library over USB 2 takes hours, not minutes.
If you need the phone, stop the backup and continue later. Progress is saved after every verified file, so unplugging costs you nothing. After the first run, each later backup copies only what’s new since last time.
Step 4: Check that it’s verified, not just copied
“Copied” means the phone sent the data. It doesn’t tell you the drive stored it correctly: cheap sticks, counterfeit capacities, a loose cable or a drive pulled out at the wrong moment can all leave damaged files that look fine in a folder listing.
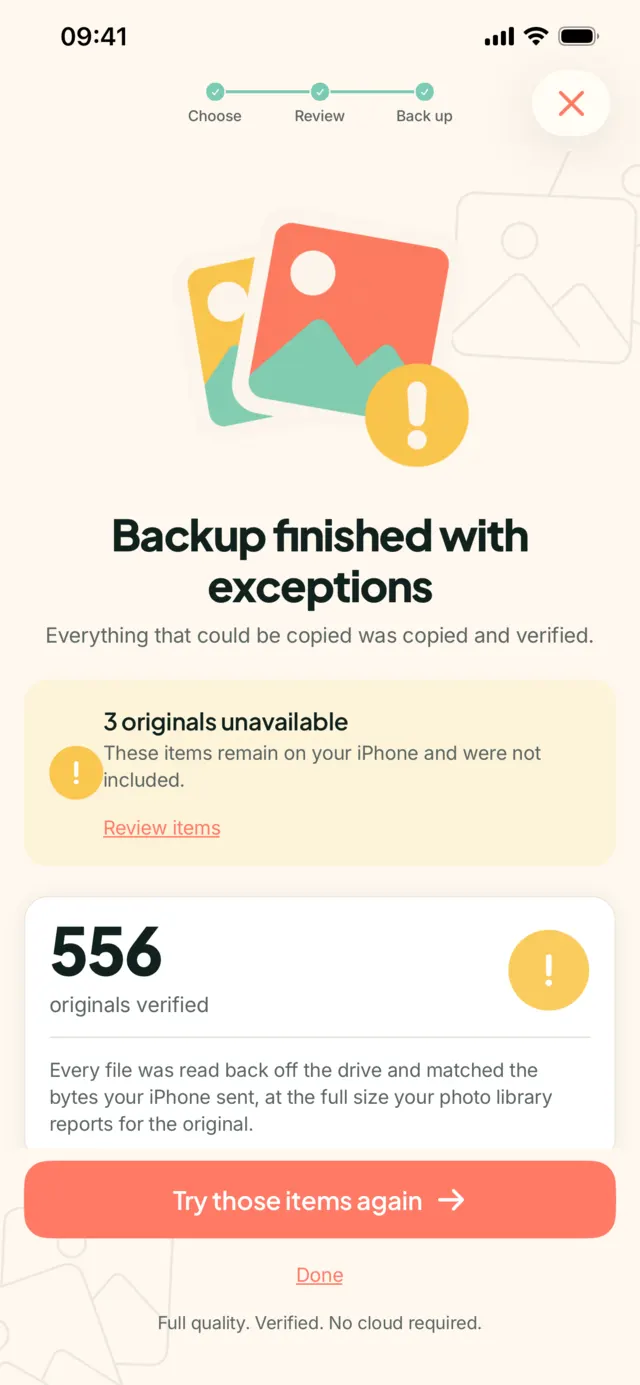
My Photo Copy reads every file back off the drive and checks its SHA-256 against the data your iPhone sent, and its size against what the photo library reports for the original. The result reads like “18,420 originals verified”. Anything that couldn’t be copied is listed by name, with the reason, so you know exactly what to retry. How to verify a photo backup explains the difference, and how to spot-check any backup yourself.
What ends up on the drive
Plain folders by year and month, like 2024/07/IMG_4231.HEIC. The files are the originals as your iPhone stores them: HEIC, JPEG, PNG, RAW, MOV, 4K and ProRes video, with Live Photos kept as their still-and-video pair, and dates and locations intact. Plug the drive into a Mac, a Windows PC or many TVs and the photos are there, with no special app needed to open them.
My Photo Copy doesn’t restore into the Photos app. If you ever need photos back on a phone, you open them from the drive in Files and save them to Photos, or import the folders on a computer. For most people the point of the drive is that the files are simply there, readable anywhere.
After the backup
A verified copy is what makes it reasonable to free space. Backing up doesn’t delete anything; if you want room back, you can delete photos yourself or use Photo Trim to clear duplicates and old screenshots. If your iPhone or iCloud storage is what sent you here, iCloud storage full compares the options. Selling or trading in the phone is a separate checklist: back up before a trade-in.
One drive is one copy. Drives fail, get lost, and sit in the same house as the phone. Keep a second copy somewhere else: another drive at a relative’s or at work, or iCloud if you already pay for it.
Travelling? The same process works each evening with a small SSD and no laptop; see travel photo backup without a laptop.
Back up your iPhone to USB
My Photo Copy copies your originals from the iPhone to the drive and verifies every file. No computer, no cloud, no account, and nothing is uploaded. The first 250 photos and videos are free.